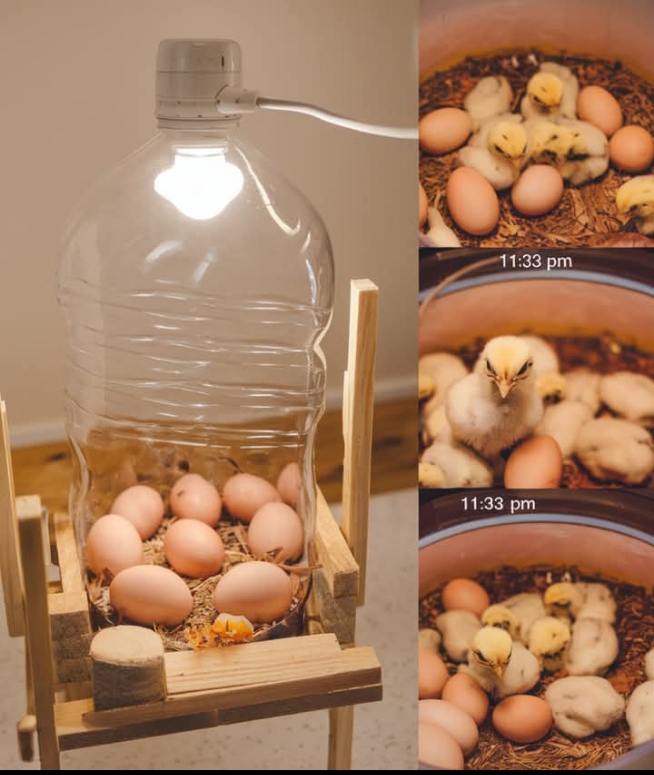
Materials Needed:
• 5-liter or larger plastic bottle
• Small light bulbs or heat lamps
• Thermometer and hygrometer
• Egg carton or foam for stabilization
• Tools for cutting and making holes (scissors, drill)
Steps:
1. Preparing the bottle:
– Clean the plastic bottle thoroughly.
– Lay the bottle on its side and cut a large opening in the narrower side to make the incubator door.
2. Setting up the heat source:
– Install the light bulbs or heat lamps on the top or sides of the bottle for even heating.
o Make sure to maintain a constant temperature of around 99.5°F (37.5°C).
3. Ensuring egg stability:
– Place a layer of foam or an egg carton inside the bottle to keep the eggs stable and prevent them from rolling.
4. Temperature and Humidity Monitoring:
– Install a thermometer and hygrometer inside the incubator to monitor conditions.
– Maintain humidity between 45-55% during incubation and 65-75% for the last three days before hatching.
5. Ventilation:
-Make small holes in the bottle to allow fresh airflow and control humidity.
6. Manually Turning Eggs:
-Turn eggs manually at least three times a day for even development.
Safety Tips:
• Constantly monitor heat sources to prevent overheating.
• Keep the incubator out of reach of children and pets.
With this guide, you will be able to build an efficient and economical homemade incubator, allowing you to enjoy the exciting experience of incubating eggs at home. Enjoy this adventure in the world of egg incubation!
© Easy Planting Tricks


